In this post I will run you through a few simple techniques commonly used by underwater photographers to help improve the quality of their photos.
If you are an experienced photographer, then you are probably already using these techniques. If, on the other hand, you are a keen amateur, maybe using a smaller point and shoot waterproof camera, then these techniques should really help you improve the quality of your photos:
- know your camera,
- take photos when the ambient light is the best,
- position yourself correctly,
- wear a weight belt,
- get it in focus,
- get close to the subject.
- do not chase your subject,
- use point and shoot cameras for macro shots,
- take lots of images.
Now, let’s look at these techniques in more detail:
1. Know your camera
There is a lot of choice for a relatively inexpensive waterproof small camera suitable for snorkelling or scuba diving images. Some cameras are waterproof to say 10 meters whilst others are waterproof to 30 meters. Some cameras can be put into a waterproof housing to increase their depth capability.
Before you go in the water set the camera up for your preferred format eg Underwater, macro, flash on or flash off or auto. Set the camera to its highest image quality. No use getting in the water and finding a rare or unusual subject and then loose time trying to set up the camera whilst the subject disappears. Practice and memorise which buttons are used to change from macro to wide and flash on or off etc. You may have trouble reading the button labels whilst in the water. If you wear glasses for reading it would be beneficial to either use a face mask with fitted optical lenses or add stick on bifocal lenses to the lower part of your face mask.
2. Take photos when the ambient light is best
Colour is absorbed selectively from the red end of the light spectrum by water. So, in say 10 meters of water reds have mostly disappeared. This is made worse in low light situations – dark cloudy skies or low sun angle. The best light penetration into the water is when the sun is more overhead. Taking images between say 10:00am and 2:00pm will give better available light. Point and shoot smaller automatic cameras generally have restricted options for shutter speed, ISO and aperture so as available light gets less shutter speeds drop to the point where images will be blurry. Using the flash option will help but may introduce other issues like backscatter and or overexpose the subject.
3. Position yourself correctly
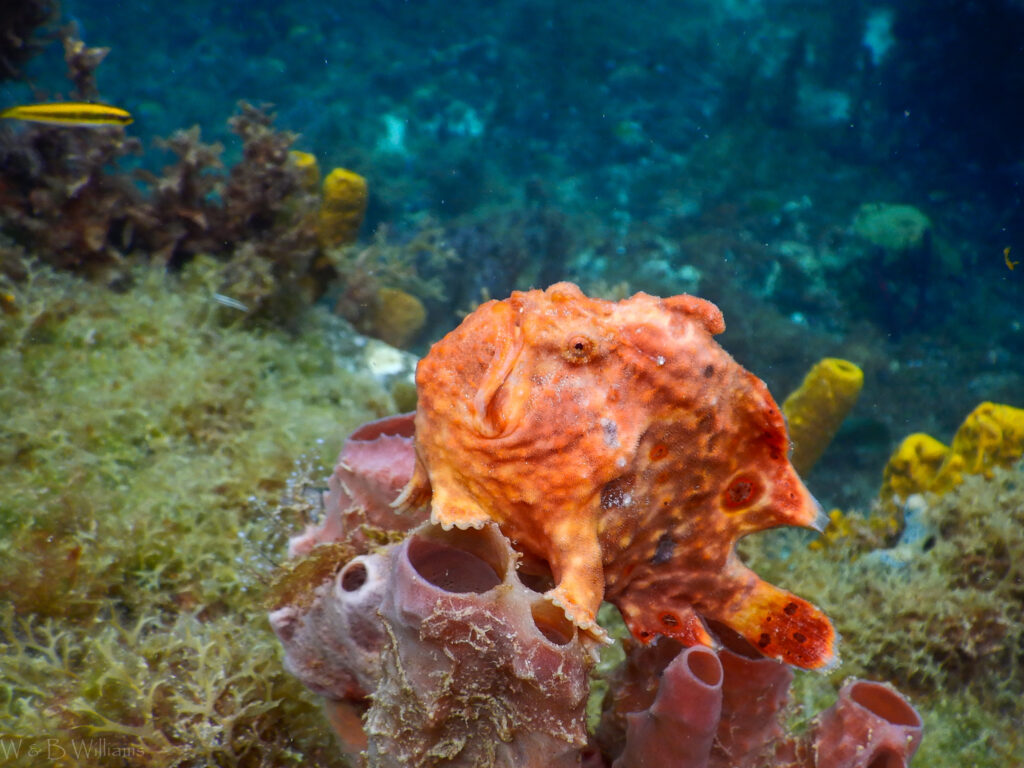
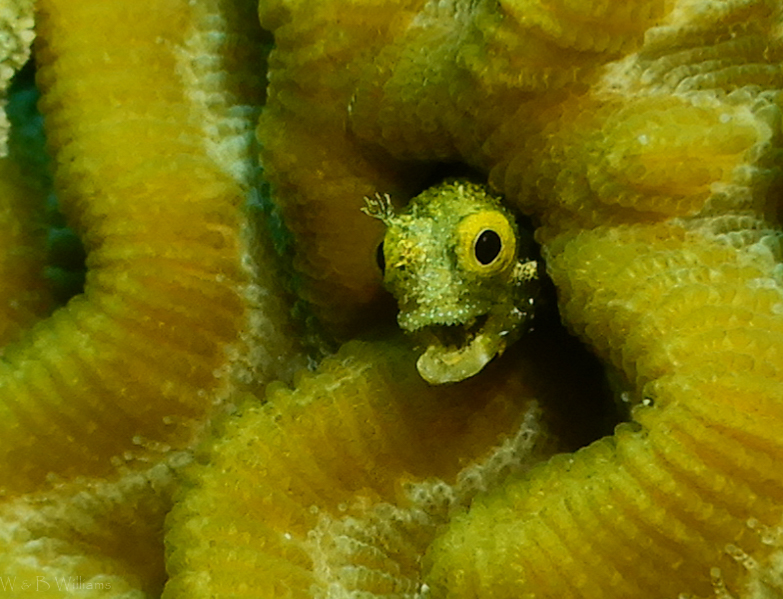
Position yourself and camera at the same depth, or slightly deeper than your main subject.
There are various reasons for this with some being – better light than shooting downwards, the fish or critter looks more “normal” from the side and the fish or critter will often be less skittish when approached from the side rather than from above

4. Wear a weight belt
Weight yourself so you can more easily maintain your depth without lots of effort.
When snorkelling or scuba diving it takes less effort to maintain your position underwater if you are correctly weighted. Not enough weight and you struggle to stay down. Too much weight and you struggle to stay at the wanted depth and/or stay at the surface when snorkelling. When snorkelling being correctly weighted means you can stay down for longer and have more time to take your images.
5. Get it in focus
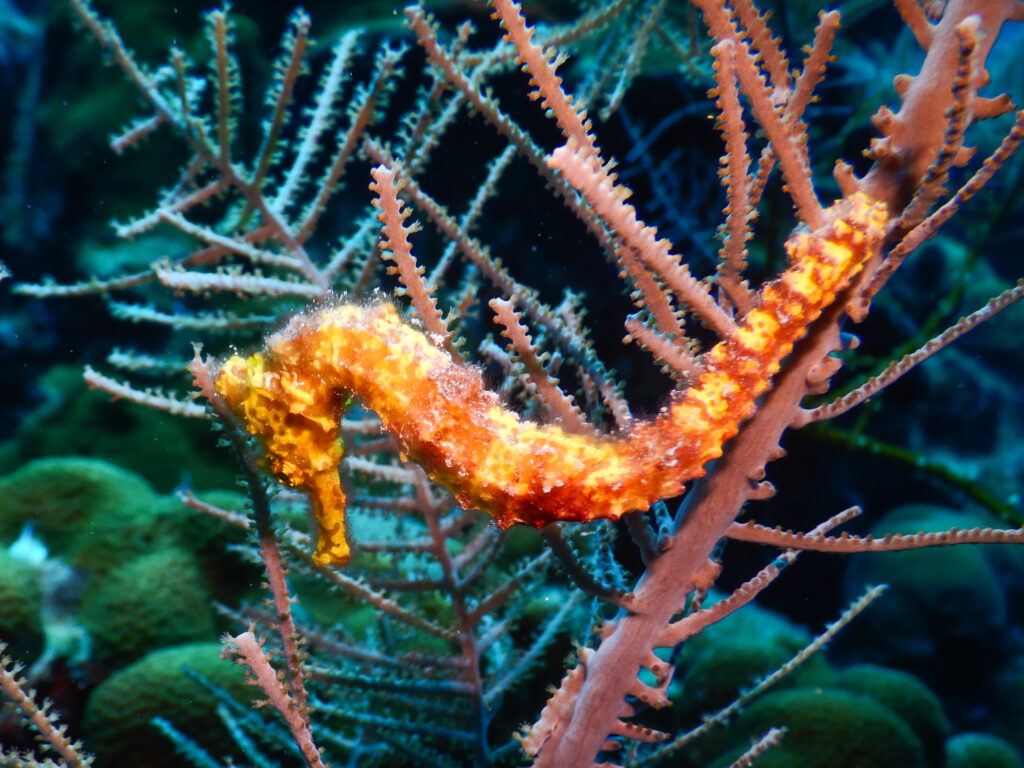
Concentrate on getting your main subject in focus. Composition can be adjusted later.
It is often difficult to see if your subject is in focus using the small LCD screen whilst diving so I tend to rely on the cameras on screen focus indicator. The indicator needs to be on the subject. Often smaller cameras do not have focus tracking or changeable or multi position focus options, so the indicator is in the middle of the screen. Composition wise this may not be optimal, but you can change that with selective cropping using image manipulation software or some cameras have in camera cropping. By shooting at your cameras highest image quality you can generally still end up with a useable image suitable for FB or blogs etc after cropping.
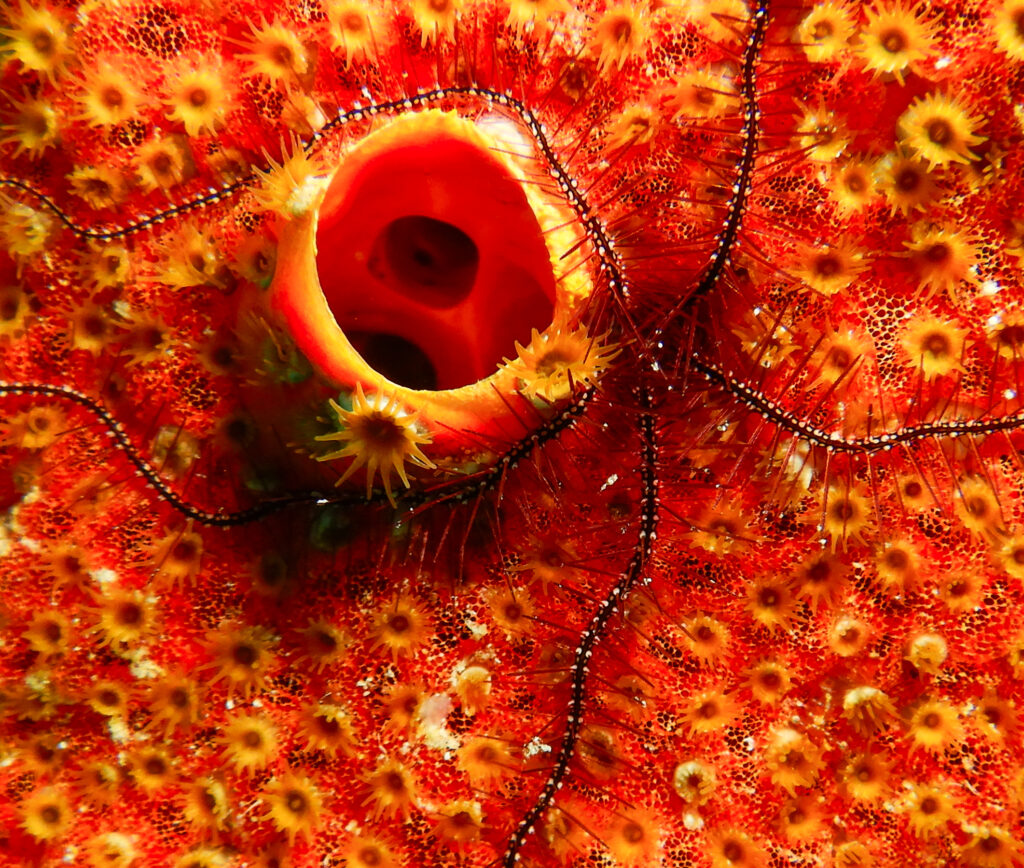
6. Get close to the subject
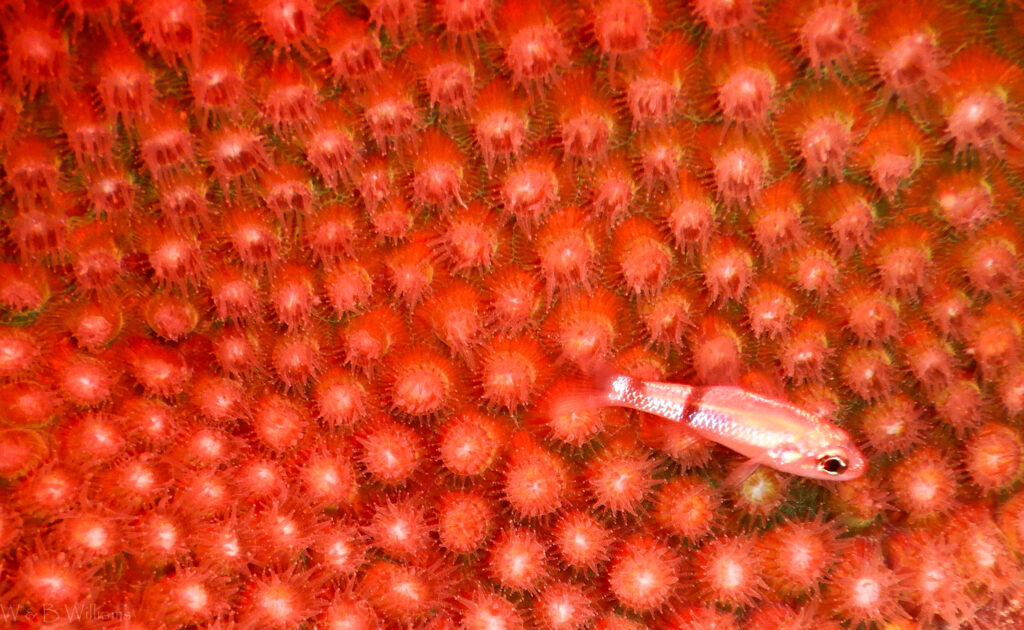
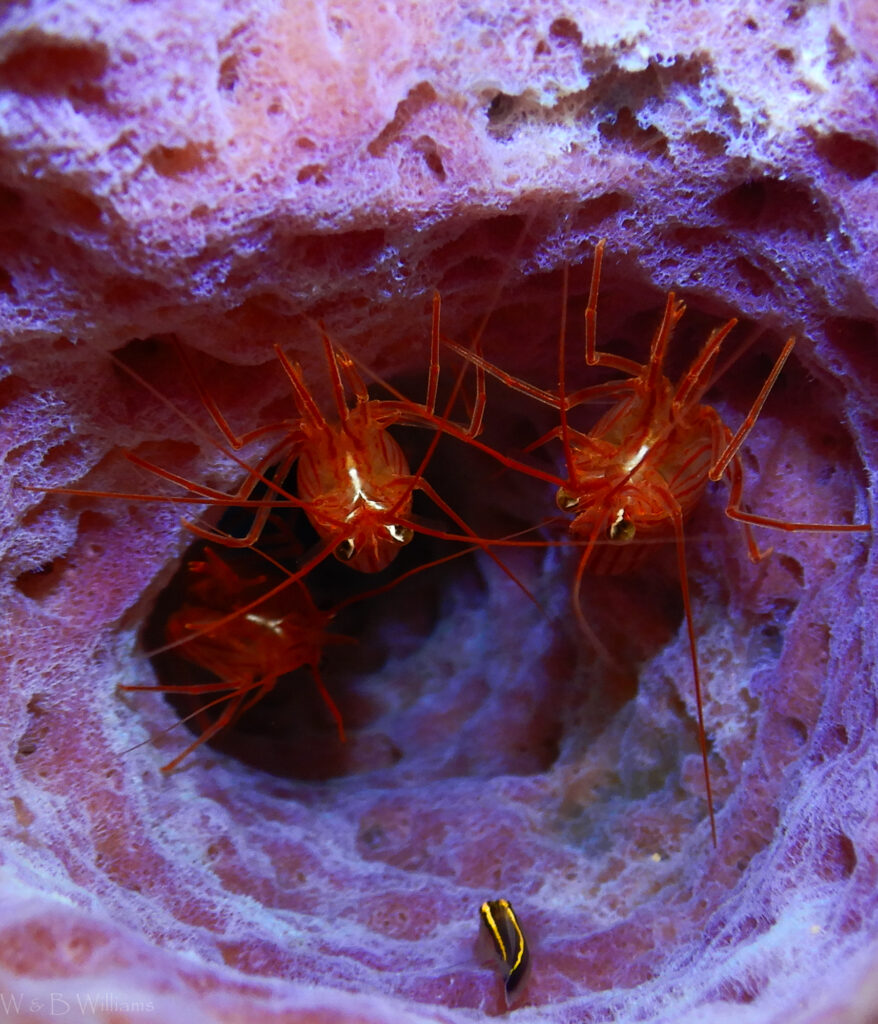
Get as close as you can to the subject. For macro photography you really want to get as close as possible to have the critter/fish appear as big as possible in the image, and to reduce the amount water between the camera and the subject; this vastly improves flash performance and the colour of the subject.

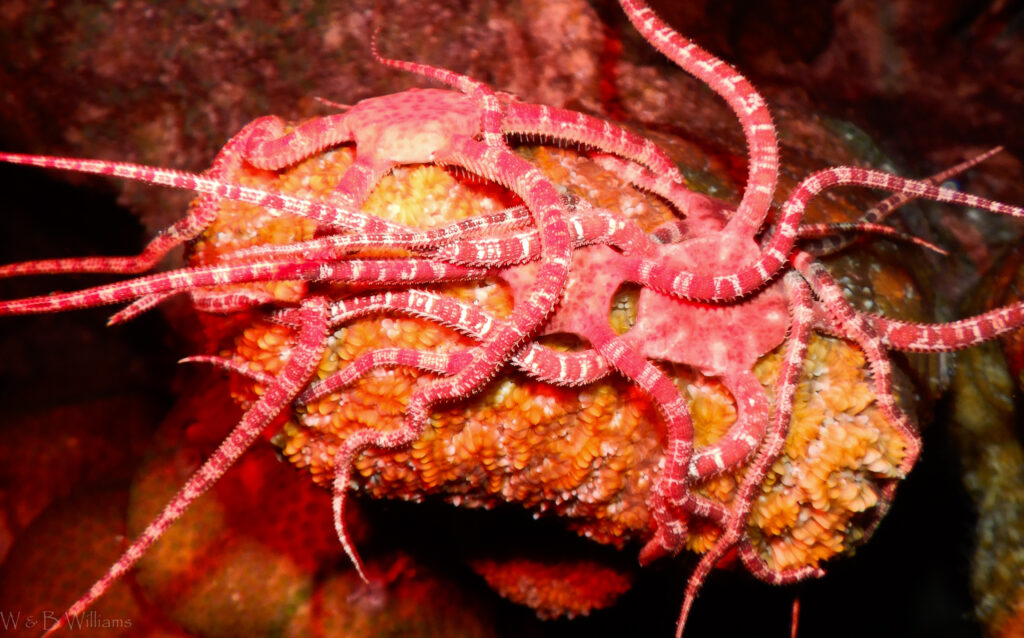
7. Do not chase your subject
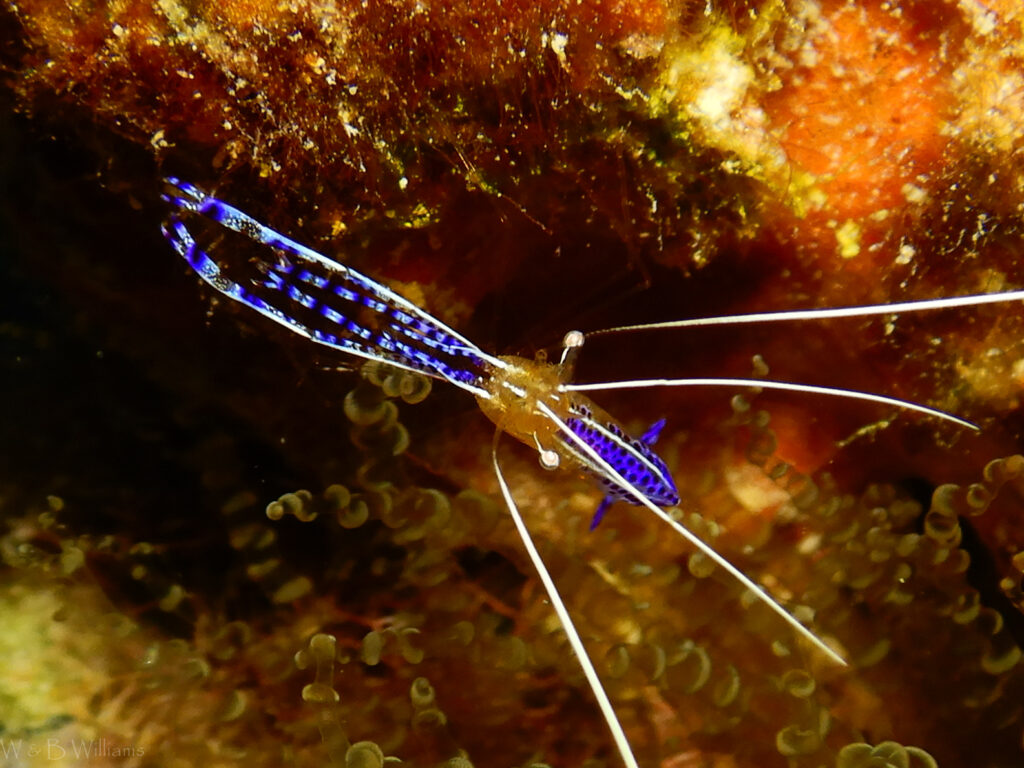
Some fish/critters will be interested enough in you to not swim away as you approach. If they choose to swim away all you generally get is “fish tail” images which are not so good. Some fish/critters will not swim away and may even come closer to you – like various cleaner shrimp who will sometimes come out of their anemone to try to clean you or the camera.
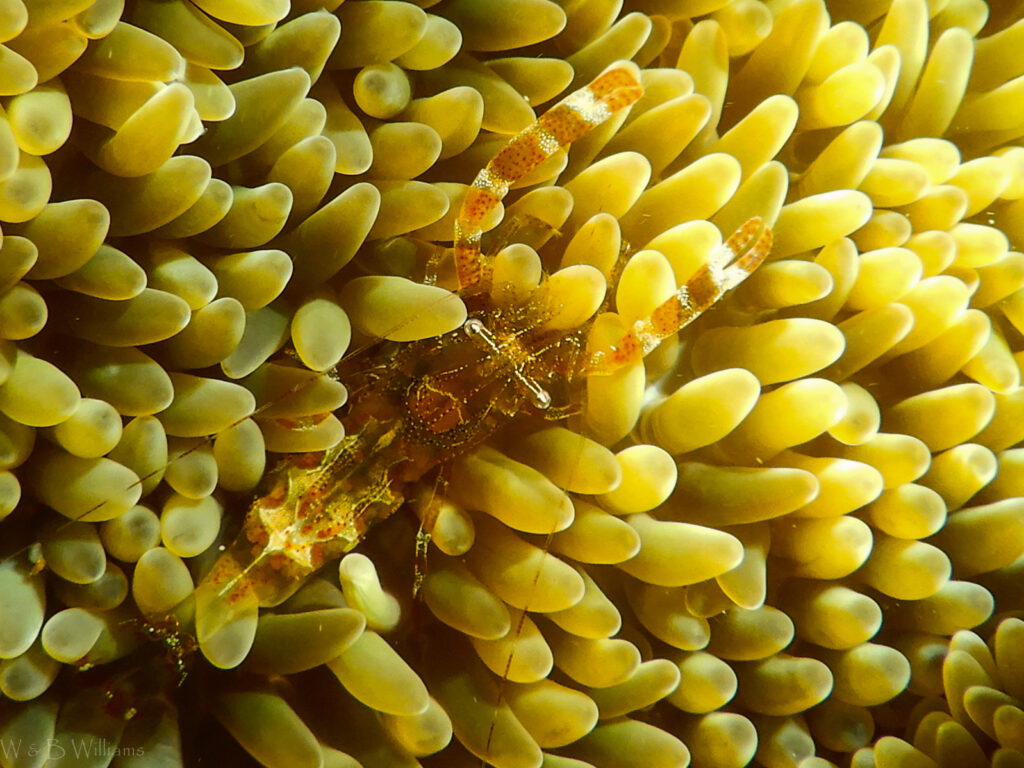

8. Use point and shoot cameras for macro shots
Small point and shoot waterproof cameras tend to take better macro images than wide angle images.
Macro images generally appear to be more colourful and offer a lot of detail compared to an image shot of a fish/critter from a few feet away. Viewers of your images on FB or your blog etc normally like macro images. Because a lot of macro subjects don’t swim away or hide you have plenty of time to get a good image. These cameras can also be good at medium distance images – like fish portraits or closer in diver images.
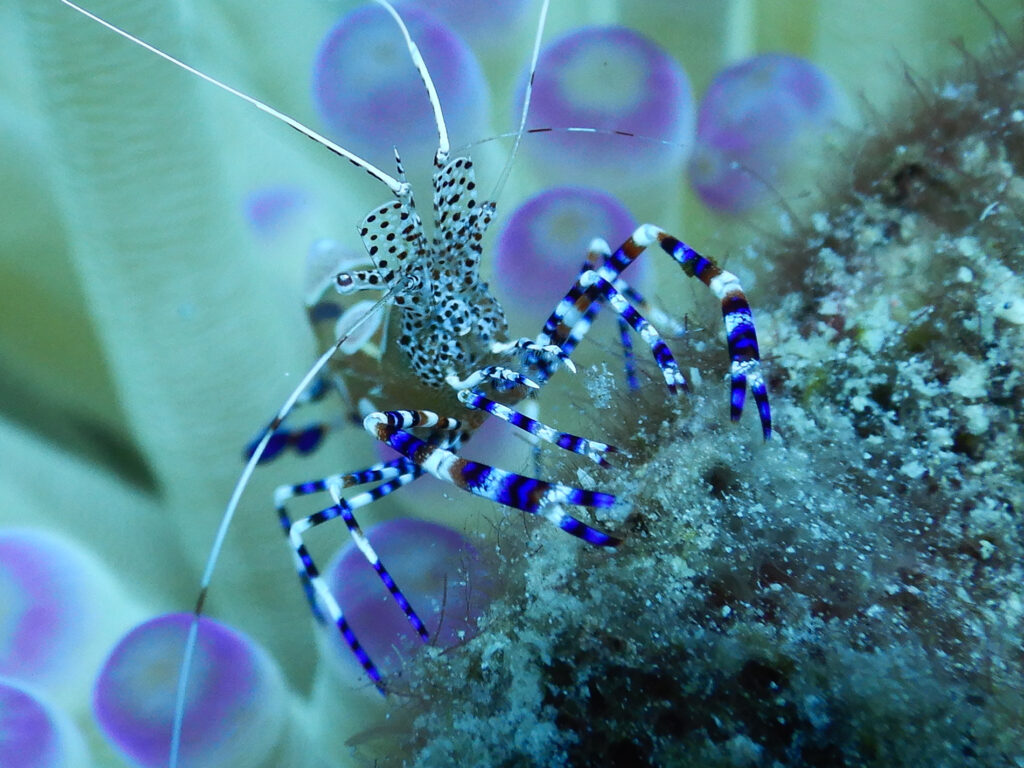
9. Take lots of images
Checking images whilst in the water is very difficult and hard sometimes to see if the image say of your first Spotted Cleaner Shrimp in as good as you thought it was only to find once you get the image on a computer screen it is out of focus or half covered by an anemone tentacle etc. To increase your chances of getting that great image take lots of images when you can. You may then need to sift through 10 or 15 images of your Shrimp but your chances of getting that great image is vastly increased. The only caveat of this suggestion is that if you are shooting with flash some fish/critters will react negatively to the flash eg Octopus will visibly shudder when the flash goes off whilst some critters don’t seem to react at all. Secondly, if you take lots (10 or more) flash images in a short time the internals of the camera can overheat, and you could end up with an error message and no camera operation or “heat” blotches on the LCD viewing screen.
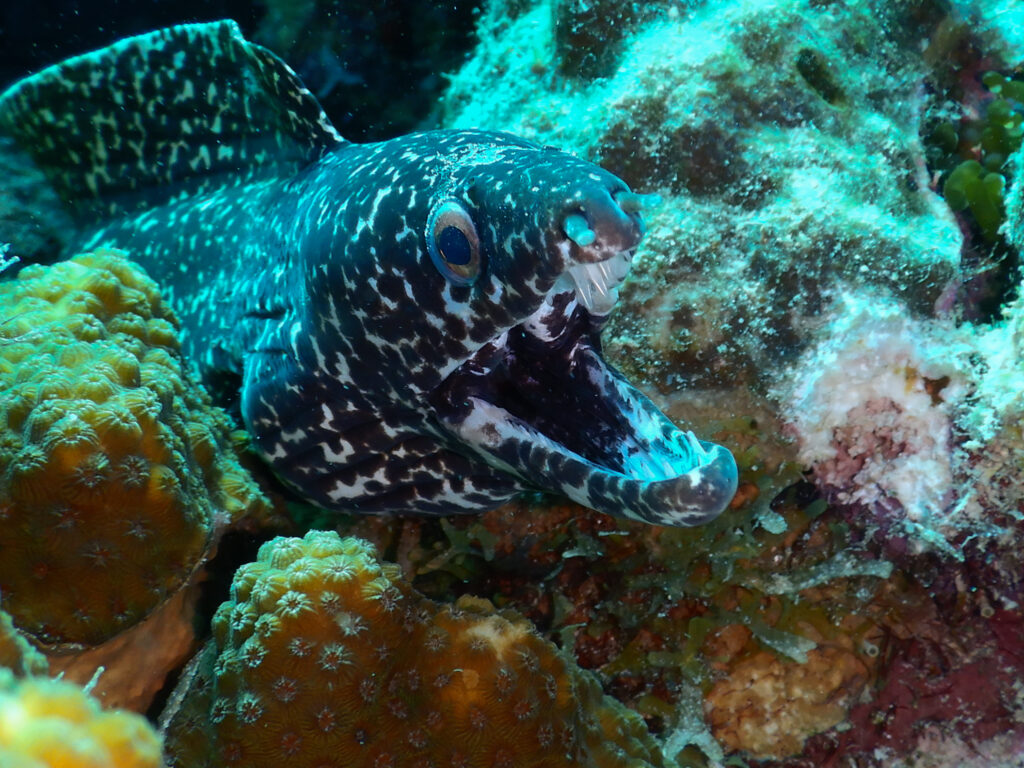
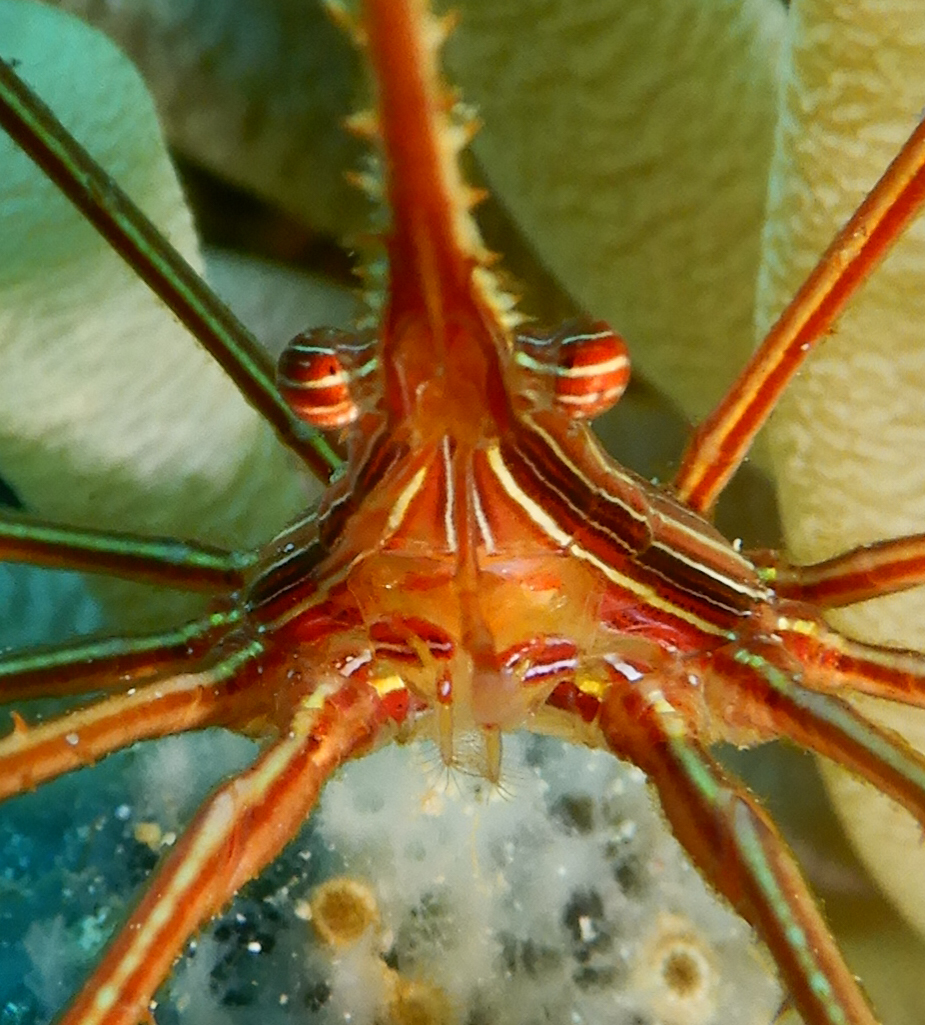
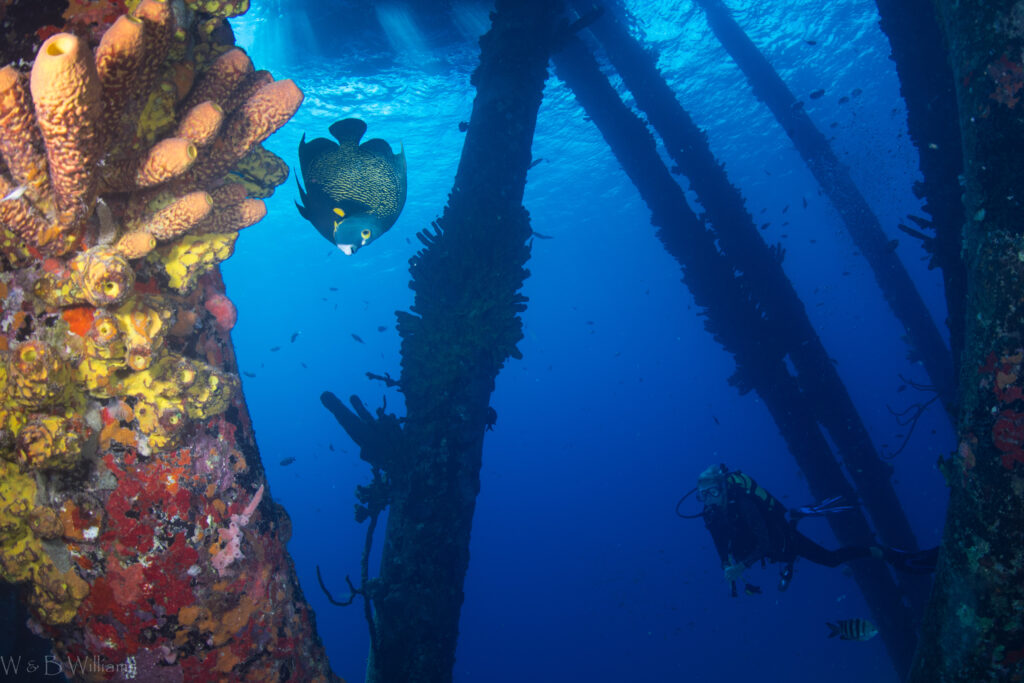
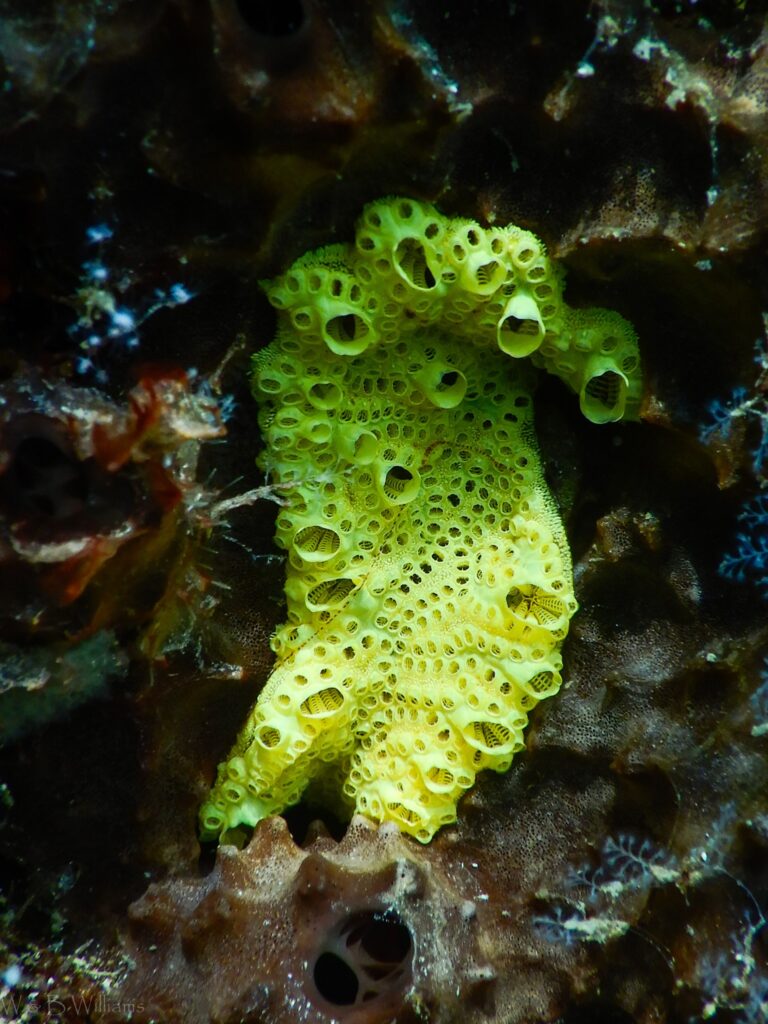
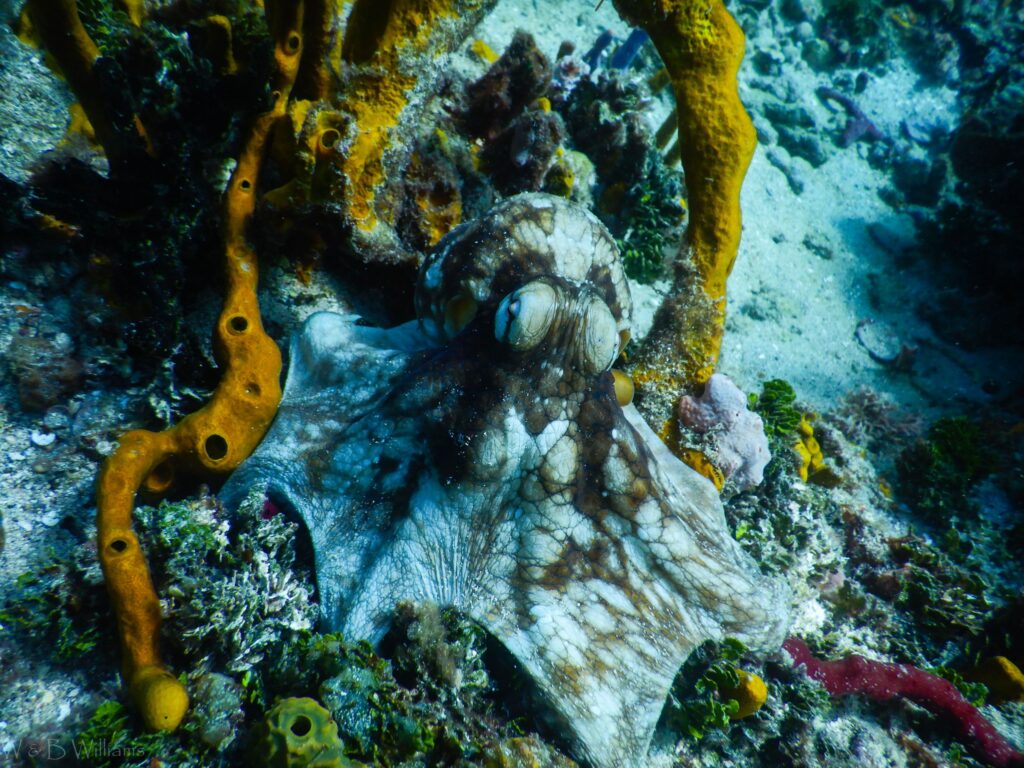
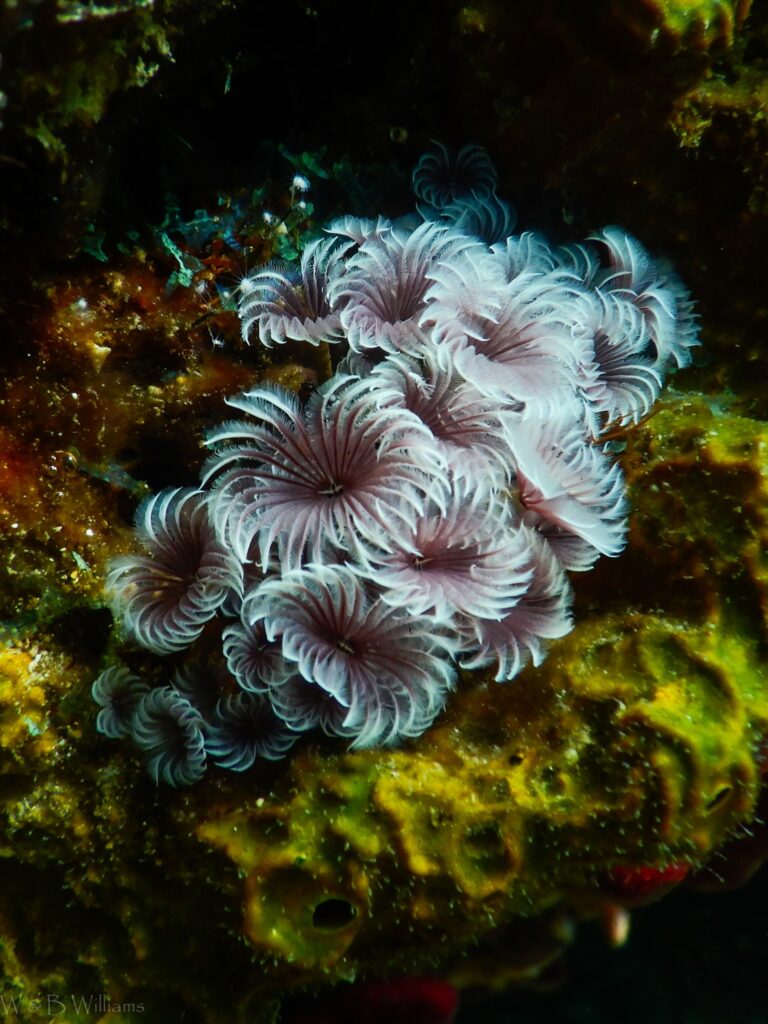
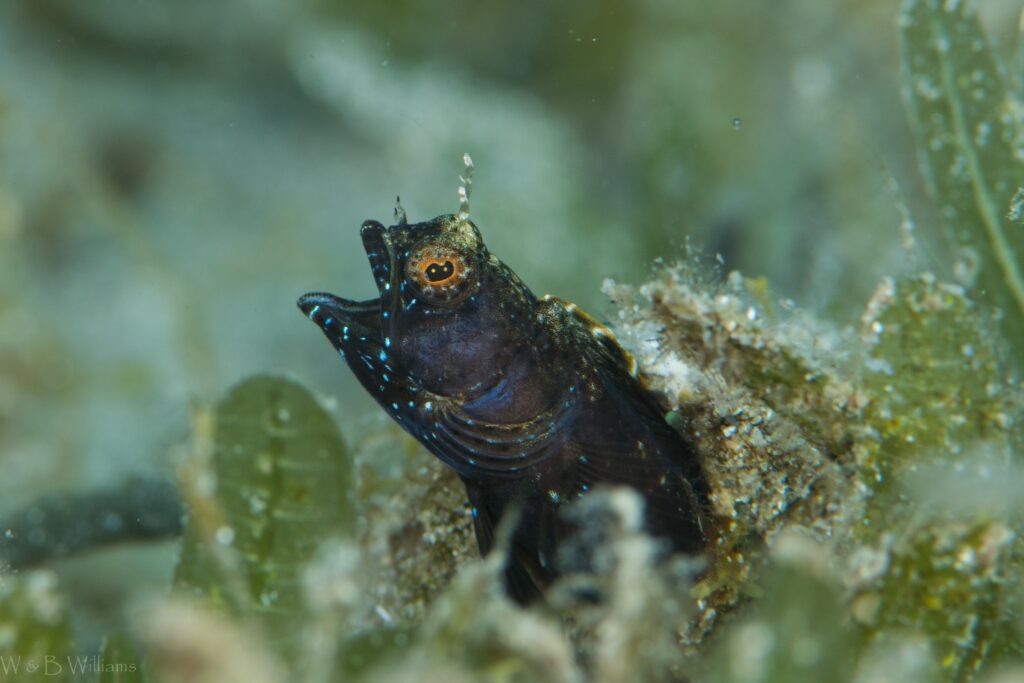
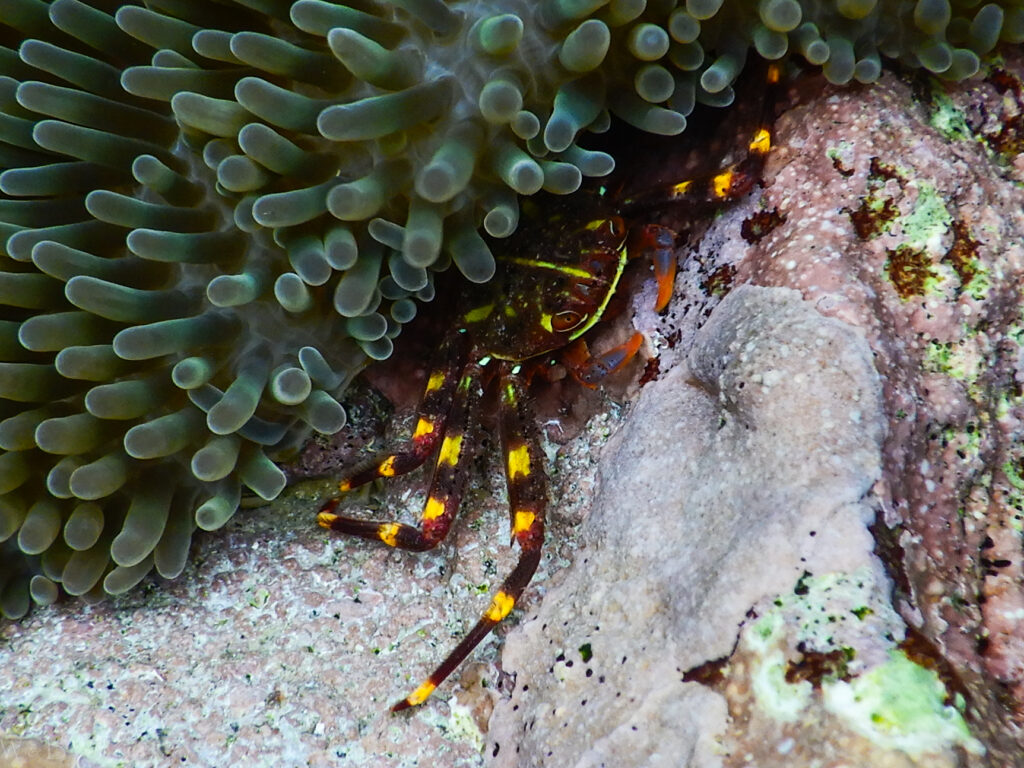
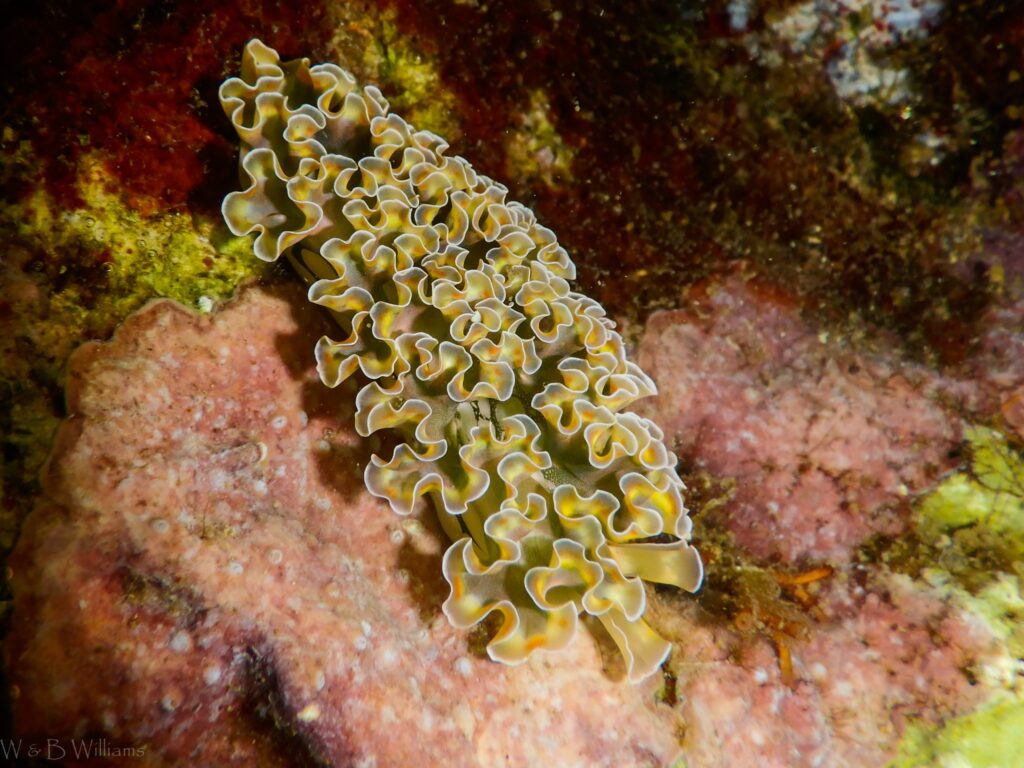
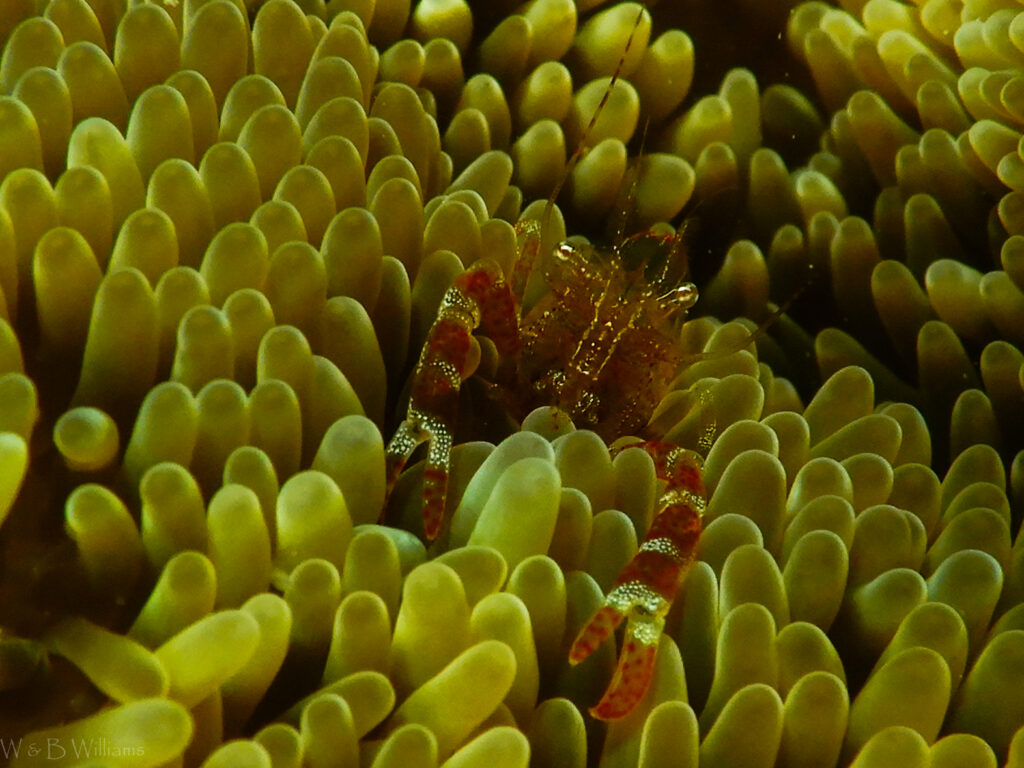
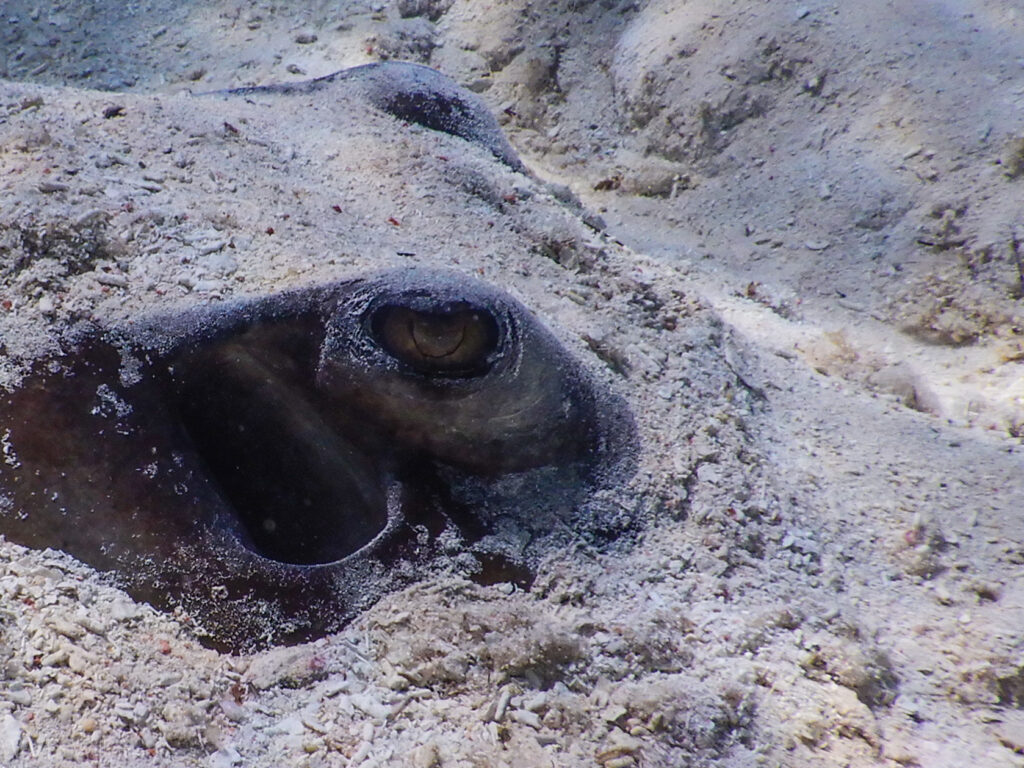
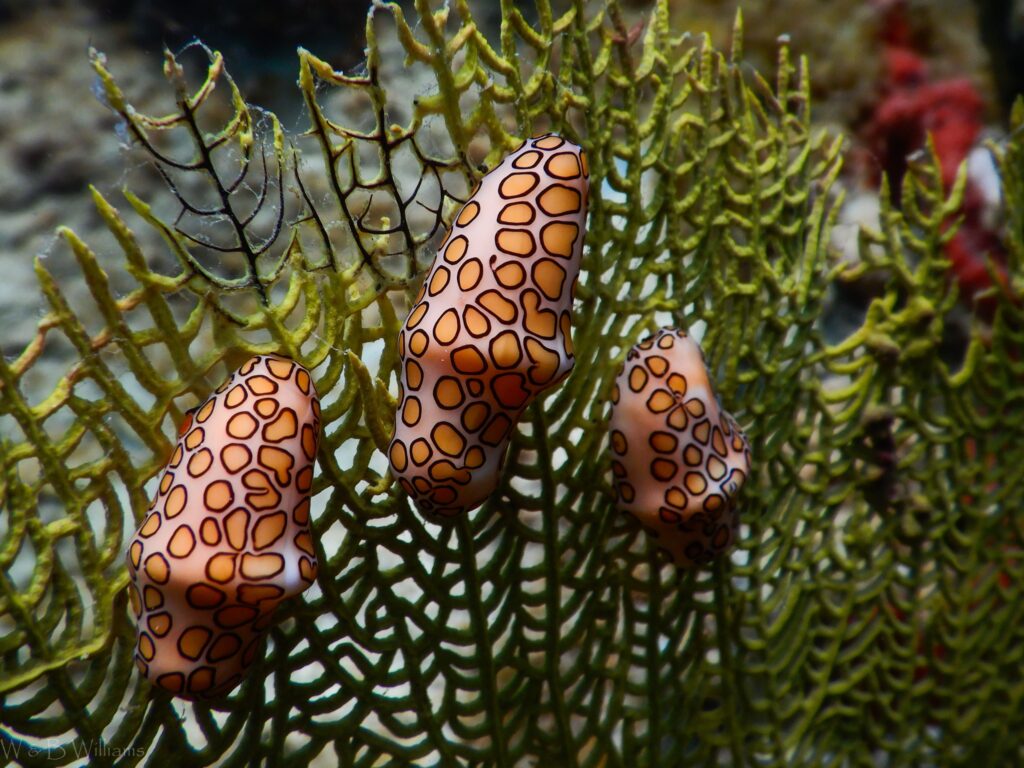

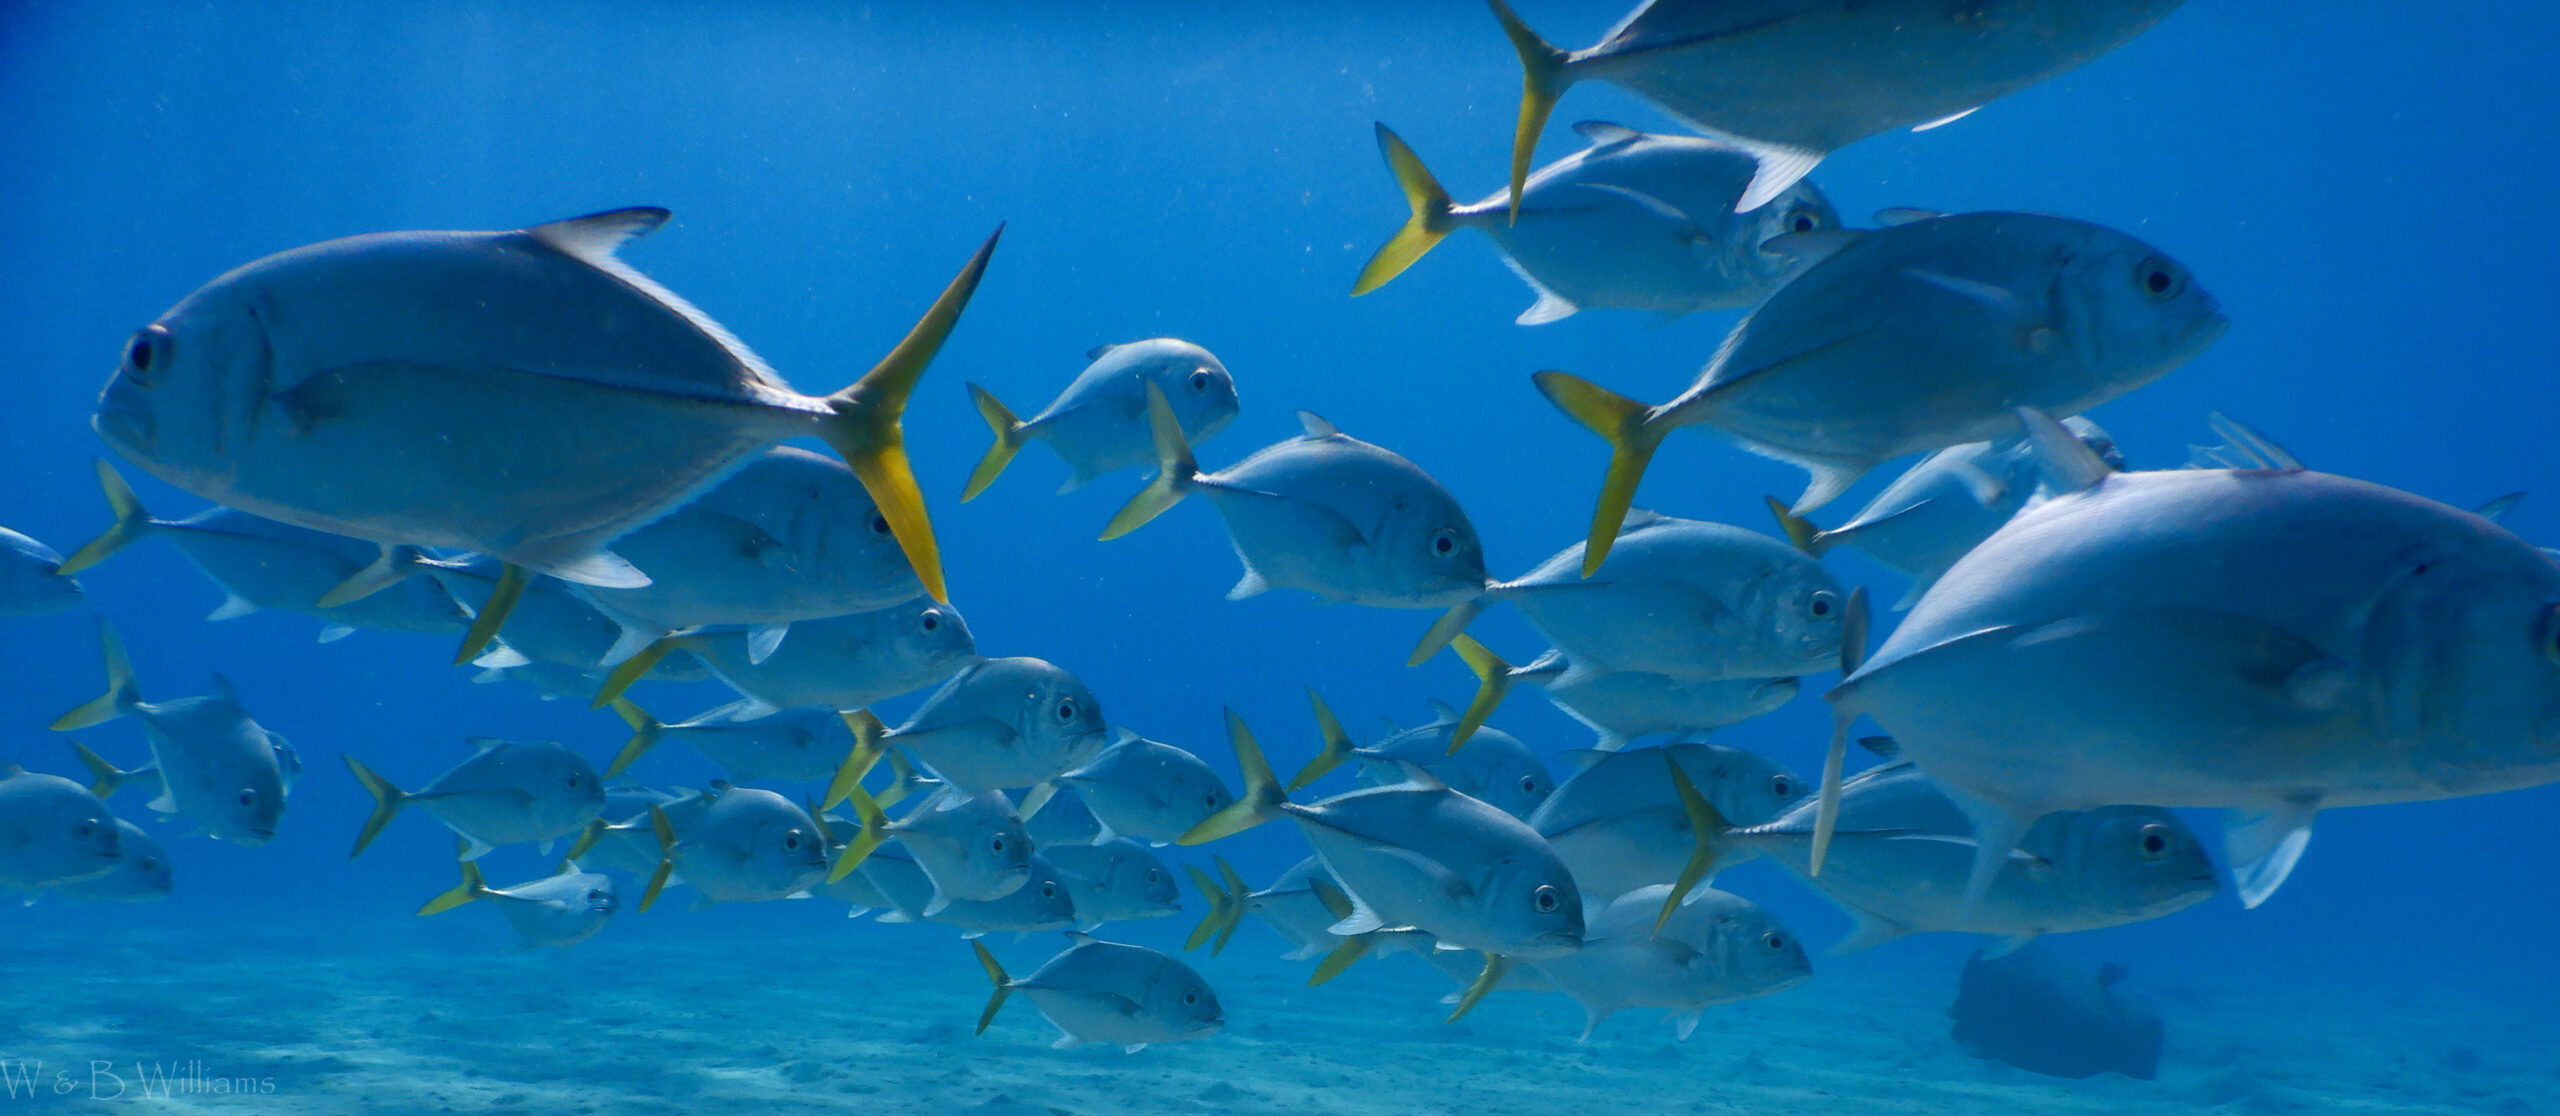
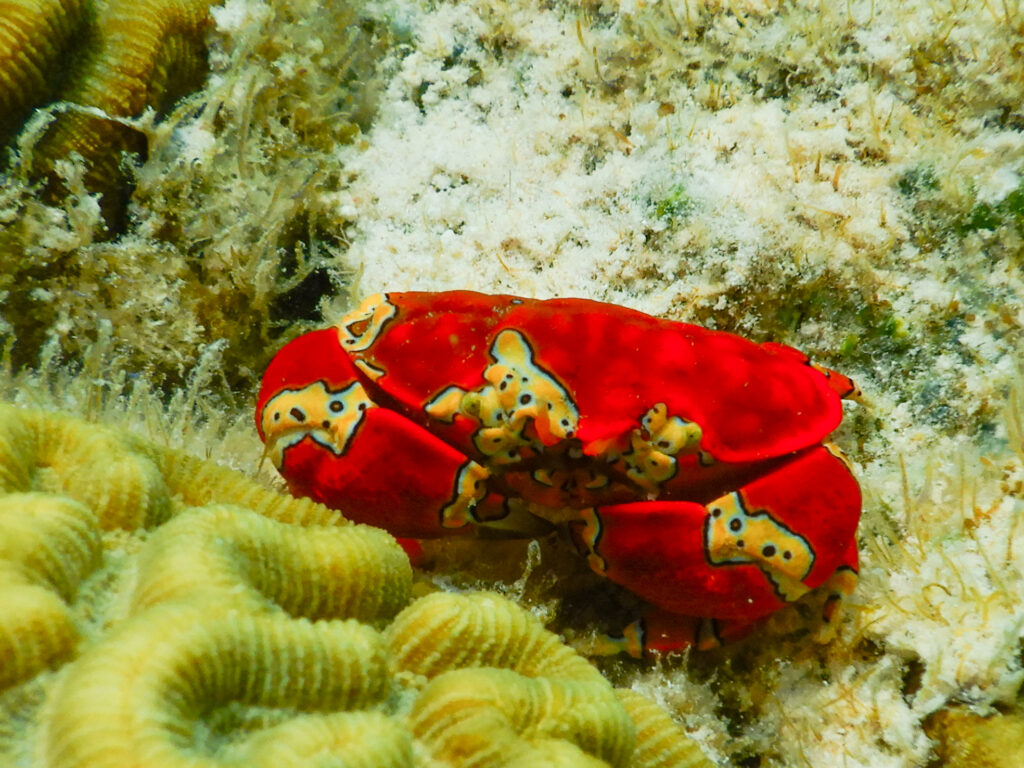
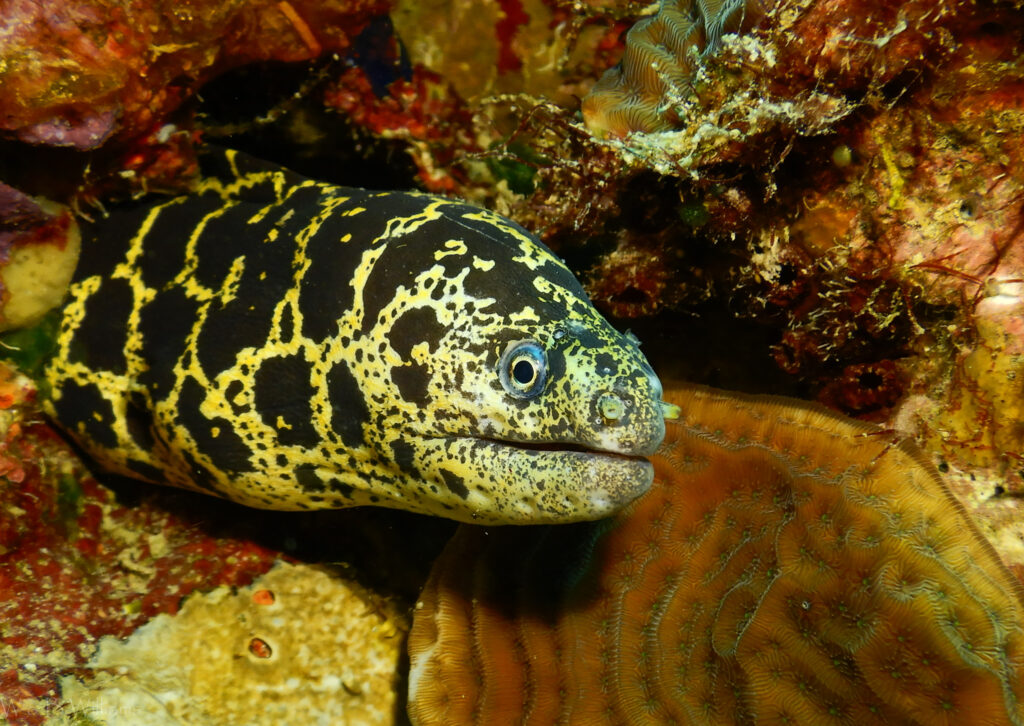
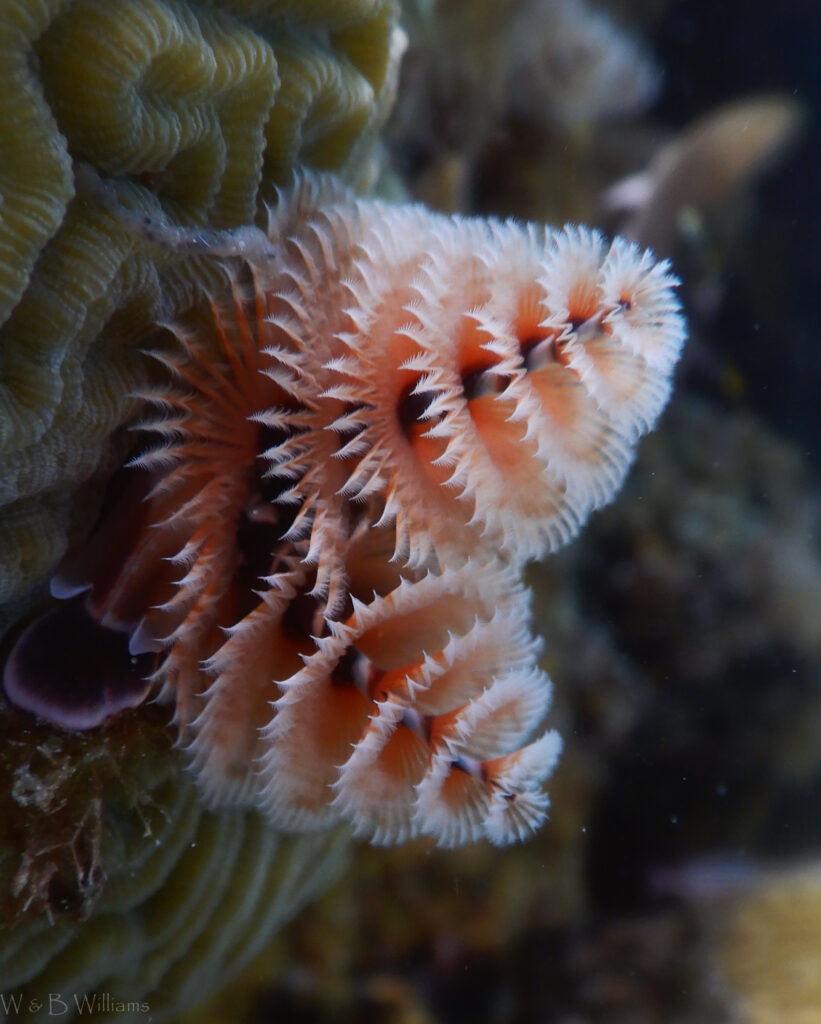
The above images were all shot in the Caribbean.

