Editorial note: this article first appeared in the author’s personal blog in September 2019, and has been revised and updated in 2023.
Flying courtesy flags becomes expensive when you are always on the move.
We recently saw a rack of courtesy flags priced between £7 and £22 each. Soon we will head to the Caribbean, where almost every island has its own flag, so the cost of buying this season’s flags will quickly mount up!

In the past, we have always tried to make our own flags. Two or three colour flags are easy but when you start adding stars, or a complicated coat of arms, it becomes more of a challenge and a trip to the chandlery is required.
This summer we met Laurens and Kitty on Tiago. Prior to leaving the Netherlands, they printed all the courtesy flags they might need on a roll of fabric. Then, before sailing to a new country, they cut the relevant flag from the roll and stitched a lanyard to it. What a great idea!
We have now created our own PDF files with the flags for most of the major sailing areas of the world. If you’d like to use them, then you can download them for free. You just need to find someone to print them:
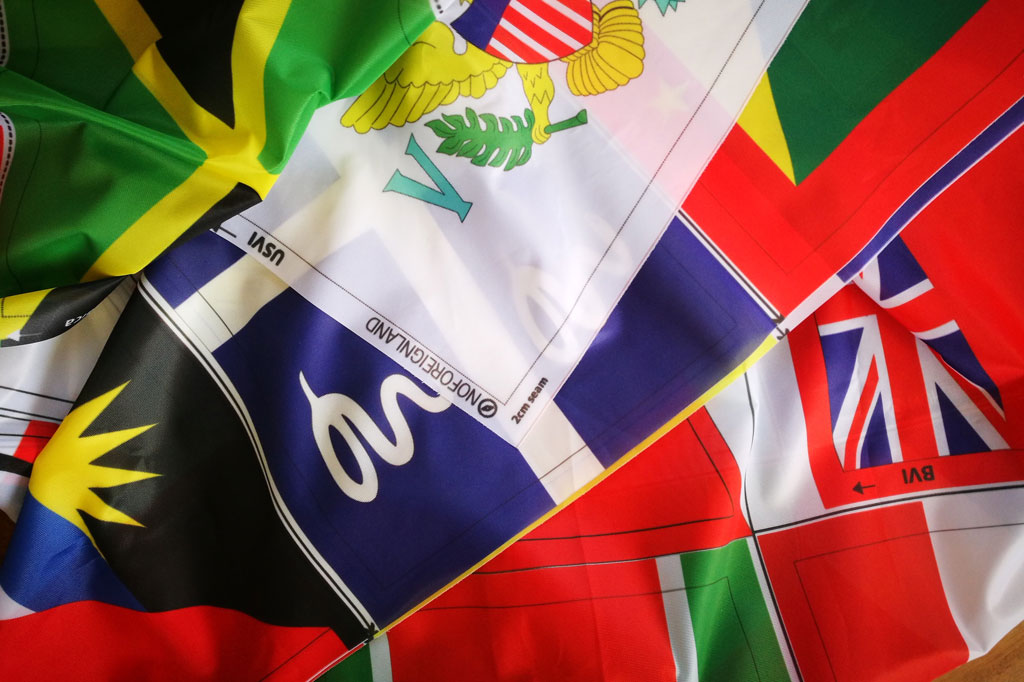
Here’s what a flag pack looks like when it arrives from the printers; you even get a few free NOFOREIGNLAND burgees filling the gaps between the courtesy flags:
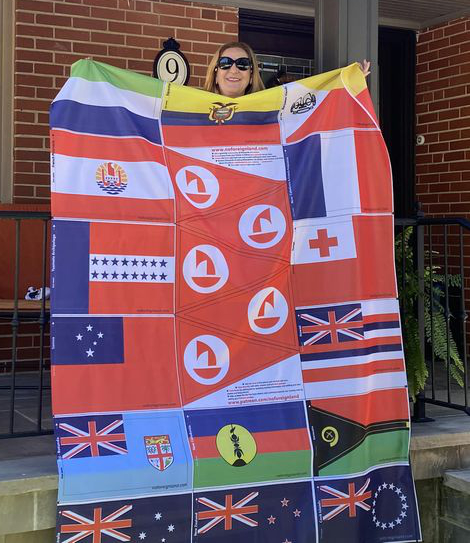
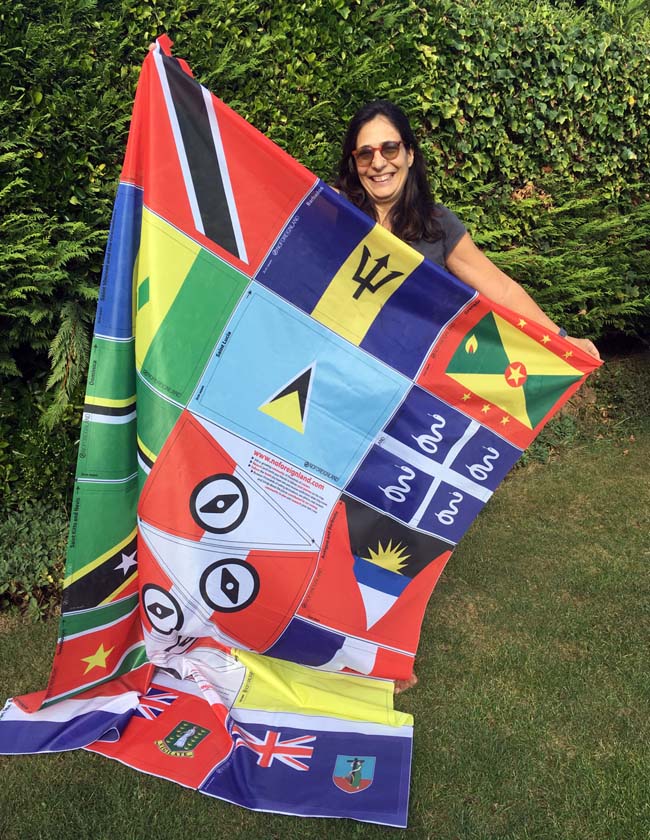
There are over a dozen flag packs to choose from. There’s also a pack with signal flags, which are expensive to buy and compulsory if you decide to take part in some rallies (like the ARC for example).
Making the flags
Materials needed
- Printed flags: We printed our flags with Pixartprinting for around £21 a file (including delivery). This resulted in a cost of under £1.50 per flag!
The flags are either 45×30 cm or 45×25 cm with a 2 cm hem. The hem boundary is marked with either a black or white dotted line (depending on the flag’s colour). The end reserved for the lanyard webbing is marked with the country name and the noforeignland logo. Please note there is an arrow, pointing up, to show which direction the flag should be flown. - Webbing: We bought a great big roll of webbing at The Haberdashery Shop in Ramsgate for £4.00. It’ll last a lifetime.
- Line for the lanyard: We use 50 cm of polyester 3 mm braided line for the lanyard.
Assembling
- Cut the flag out by cutting along the dotted lines (marked with small scissors icon).
- Double fold the top and bottom sides of the flag along the solid line to form an approximately 1 cm hem.
- Double stitch along the hem to reinforce it.
- Fold the “fly-end” twice and double/triple stitch it.
- Sandwich the lanyard line inside the un-stitched side of the flag (the side with the country name) using a 5cm wide length of folded webbing.
- Fold the webbing in the middle, with the ends turned in, and double stitch it onto the flag.
- Stitch an X on both ends to make the sure the line is secured in place. We made a loop on the top side to help identify which way is up when you are on the deck changing flags and the waves are rolling.
- Mark the name of the country and the direction the flag should fly on the webbing with a permanent ink pen.
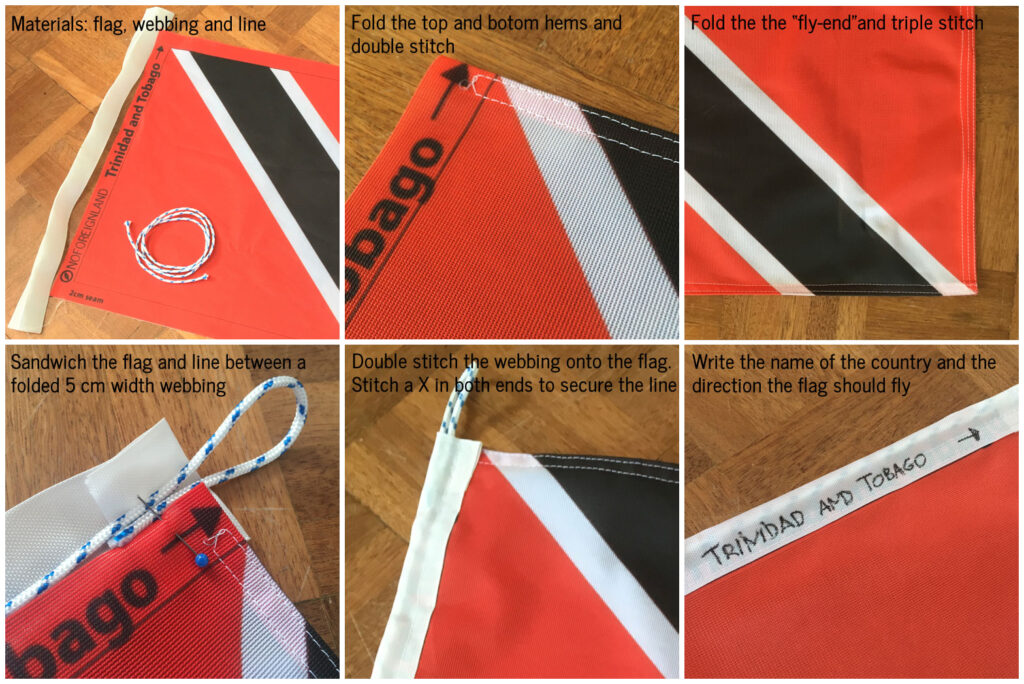
It’s so simple. No more fiddling around trying to cut our stars, awkward geometric shapes and coats of arms, and more worrying about wether an official will object to you using your old underwear as part of their national flag.

